

Stretching before bed is an easy and natural way to ensure a good night’s sleep. Doing simple stretches for 10-15 minutes can help improve the duration and quality of your sleep. Stretching helps relax muscles, reduce tension, and restore balance to the body.

If you’re having trouble sleeping, it might be because of the temperature in your bedroom. According to experts, the best bedroom temperature for sleep is around 65 degrees Fahrenheit (18.3 degrees Celsius). That said, this varies slightly from person to person; however, doctors typically recommend keeping the thermostat between 60-67 degrees Fahrenheit (15.6 – 19.4 degrees Celsius) for optimal slumbering comfort.
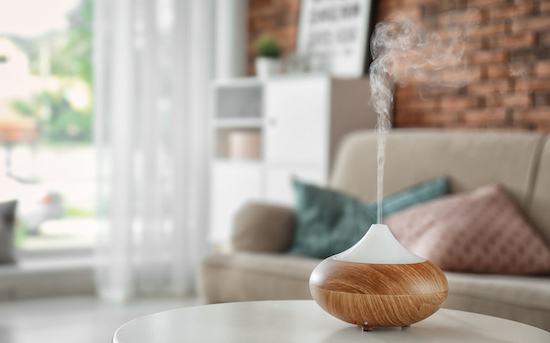
Have you ever spent sleepless nights in a stuffy room, desperately trying to get a good night’s rest? The role that smells plays in your sleep might surprise you. Studies have discovered links between smells and the quality of sleep we get.

As you lie in bed trying to get comfortable for sleep, the pain from your recently ruptured eardrum makes finding the right sleeping position difficult. You want to avoid irritating the sensitive tissues in your ear but also need to maintain your usual sleeping routine as much as possible to allow for rest and recovery. The ideal sleeping position following an eardrum rupture is one that causes the least discomfort while also minimizing fluid buildup and risk of infection as the eardrum heals.

When the temperatures start rising, it’s important to keep your bedroom cool. Not only can a hot and stuffy room make it hard to fall asleep, but sleep quality will suffer too. Keep things comfortable in your sleeping area by setting your air conditioner at around 70°F. This is the ideal temperature for sleeping; any higher or lower could interfere with restful sleep.