

Getting a good night’s sleep is important no matter your age it affects your well-being and productivity incredibly. Pillows, duvets, and bed linens play a crucial role in directly affecting your quality of sleep. Bed sheets, in various styles and brands, tend to collect bacteria’s waste, causing an unpleasant smell just days after washing. When you lay down on your bed, the accumulated bacteria from clothing and skin get pressed against the covers. Although these bacteria are invisible, their presence becomes evident through odors caused by sweat, saliva, and other bodily fluids. This odor suggests a buildup of microorganisms, which could result in irritation and dryness of the skin through the years.

If you are involved in a relationship and want to keep the intimacy alive, then this topic is certainly of interest to you. There must always be an even number of persons present in one bed so that neither person has to sleep alone on his back while the other sleeps on his side.

Is BuzzBGone a scam or a legitimate mosquito trap?
We’ve been using it for a while now and can say with certainty that it works! The flying mosquitoes are out of control this summer, but with BuzzBGone, we don’t have to worry about them anymore. We’ve tried everything possible to eliminate this problem to no avail.
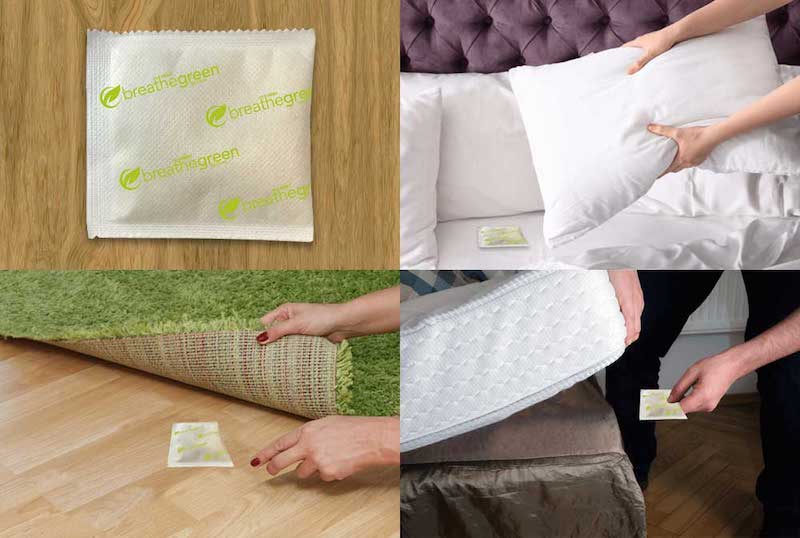
Breathe Green Mite Fighter Reviews: It is important these days that the surroundings in which you are sleeping must be neat and clean and there is no mite and bugs available in it. In case, mites and bugs are available in the surrounding, then there might be a chance that it may create unnecessary issues for you, and some of the harmful mites may let you to face some health-related problems.

Lids by Design is a new, revolutionary product that promises to give you the best eyelid improvements without surgery or needles. But does it really work? Here we’ll take a look at some Contours RX Lids By Design reviews to find out.

If you’re serious about improving the air quality in your home or workspace, AirJoi charcoal bags are a no-brainer. Not only do they offer optimal efficiency and value for money, but they also provide unbeatable safety features to ensure clean air every time. While other air purifiers on the market allow pollutants and toxins to build up in your home, AirJoi ensures that your air is always clean. Get an AirJoi charcoal bag today and rest assured knowing that you made a wise investment not just for yourself, but also for the people around you.

Nature Fresh Charcoal Bags Reviews: I am a stay-at-home mom, and I work from home. My husband is extremely supportive of this, but he often forgets that his absence from the house makes me lonely.

Do you love wearing sneakers?
I know I do. They’re comfortable and easy to use. Sometimes, they even become a fashion statement that we wear with our favorite clothes.
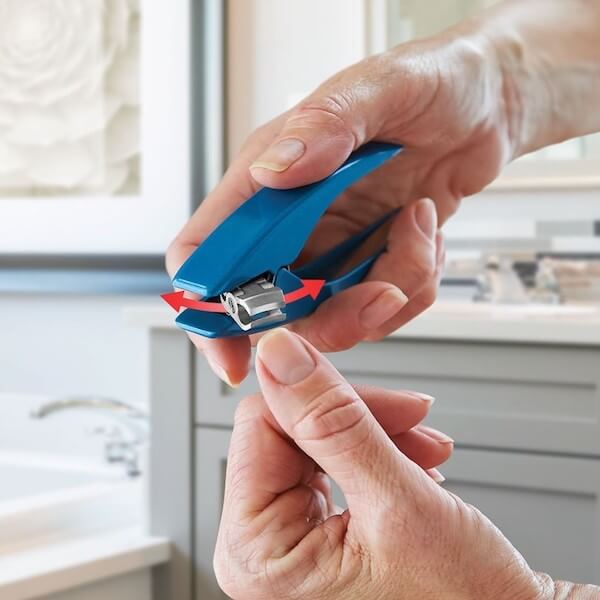
Clipper Pro Reviews: Beauty is something that everyone wants to achieve in the most perfect manner. Beauty is not only about the skin but also about the hair and the nails especially. Nowadays, it has become quite trained to keep fingernails amazingly perfect. There are several people who usually seek expert assistance to get their nails done.
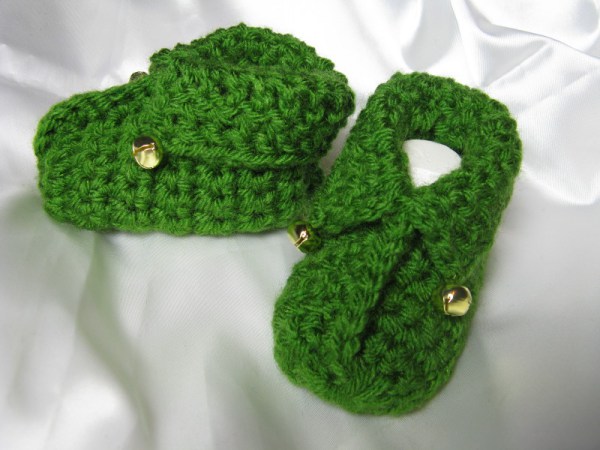
If you have an hour to spare, you can still whip up a pair of these booties before Christmas! The pattern is easy and the optional jingle balls add just the right amount of ‘aawww’ factor. Enjoy! And happy holidays!
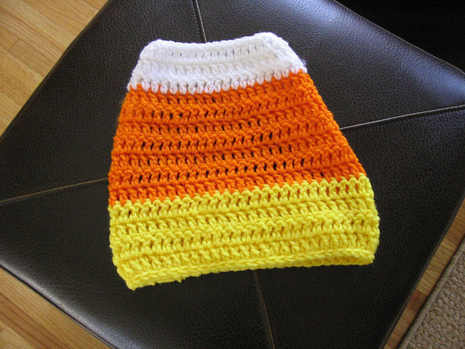
Everyone in the house needs a Halloween costume–even the fur children!
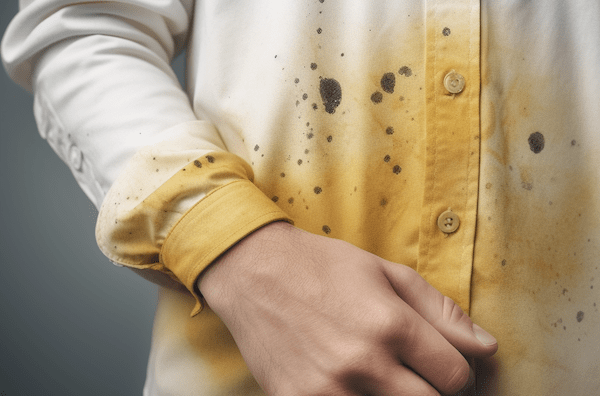
Yellow stains on white clothes can be a persistent headache, arising from sources like sweat, food, or aging. These stains tend to cling stubbornly, but fear not! Armed with the right methods and a bit of effort, you can effectively remove these stains and restore your white garments to their former glory.
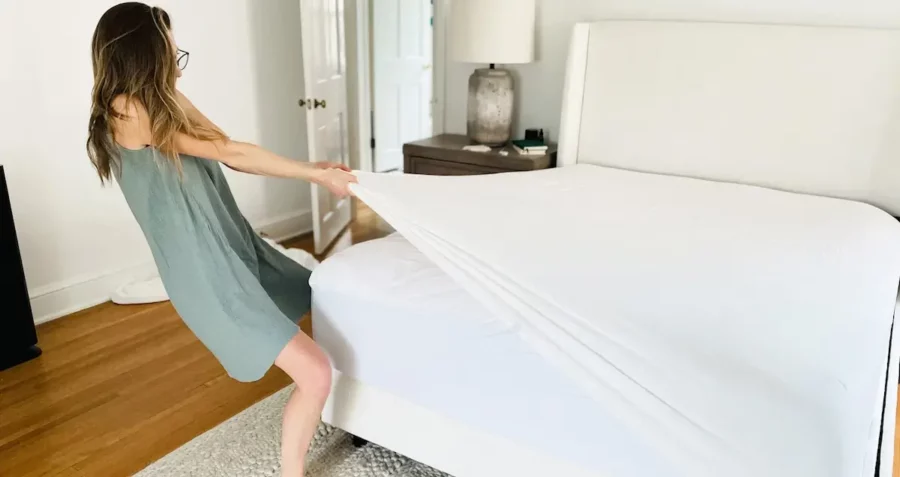
One of the most annoying things about sheets is that they always seem to be slipping off the bed. No matter how often you tuck them in or adjust them, it seems like they just won’t stay put. Many people feel the same way as you do. Lots of people have trouble keeping their sheets on the bed, but there are a few things you can do to fix the problem.